VoidPad: Journaling machine
1. Overview
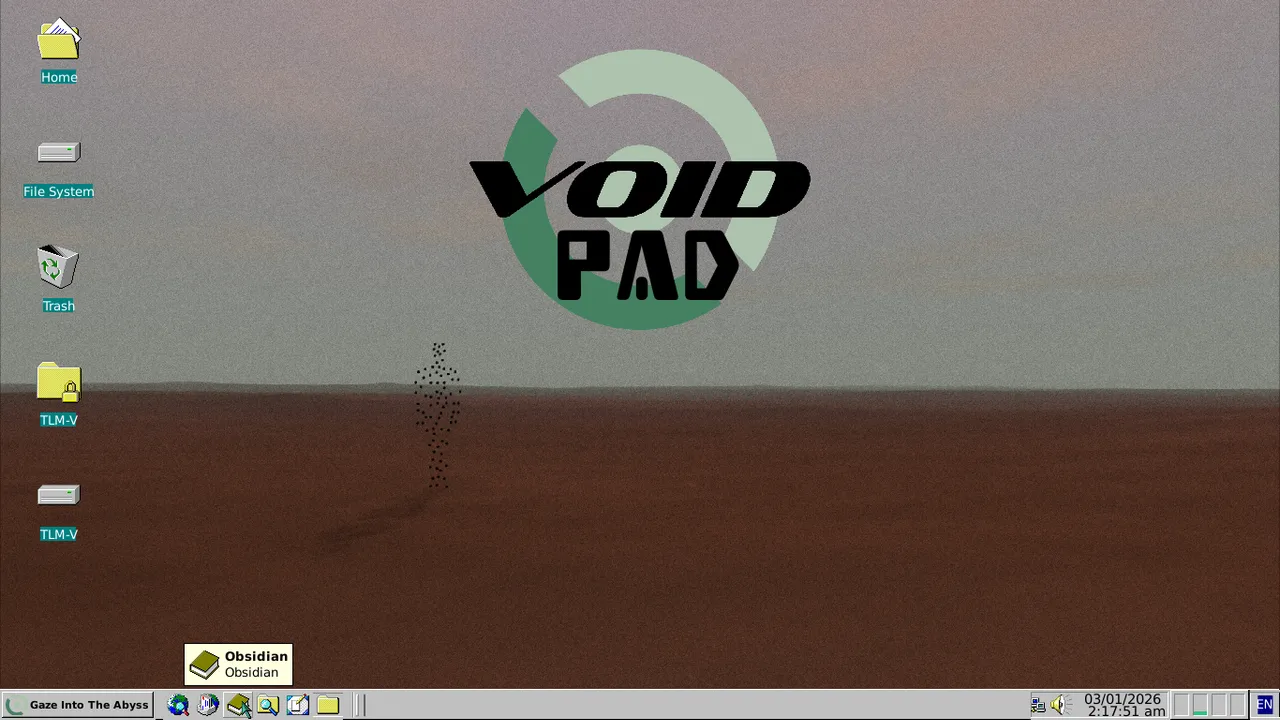
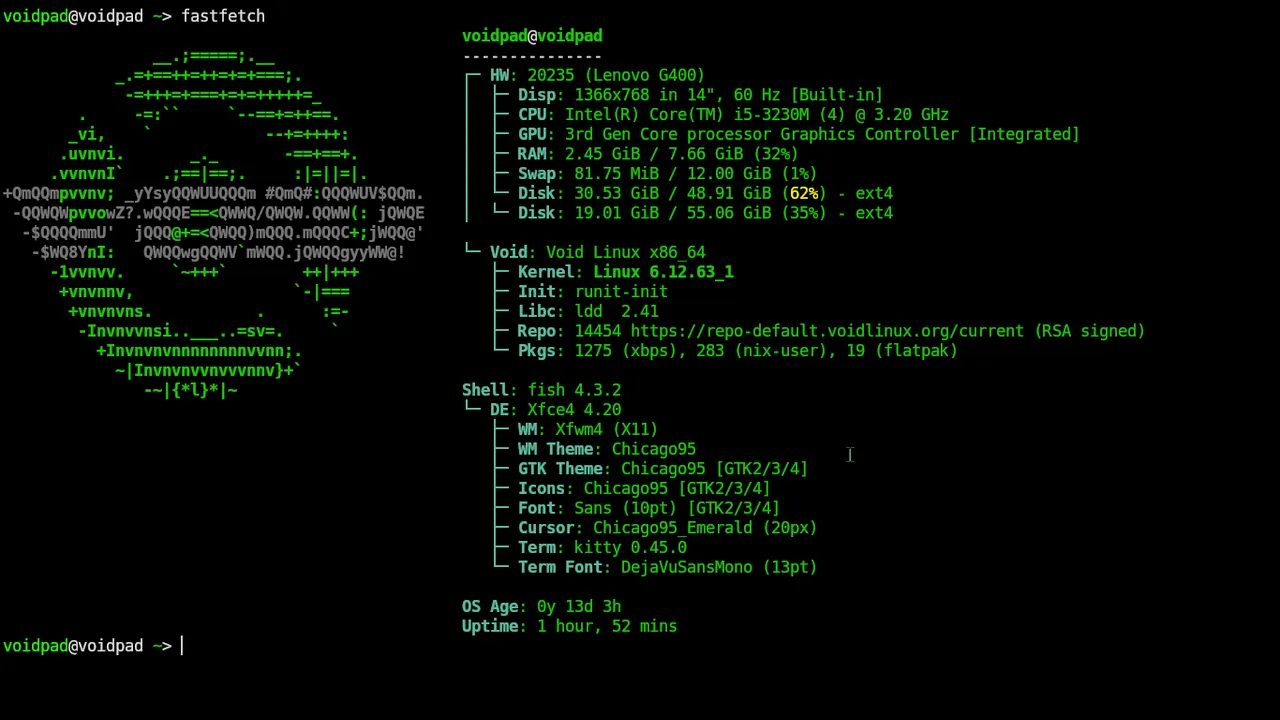
What do you do with a 13-year-old laptop that’s on its last legs? Turn it into a dedicated writing machine, of course! This project documents the journey of reviving ancient hardware and transforming it into a distraction-free journaling powerhouse. Check out the final result in Figure 1 and Figure 2.
2. Goals
- Dedicated writing device (no social media, no distractions)
- Complete privacy with offline storage using secure OS and strong encryption for saving files
- Give old hardware a second life
- Establish a consistent journaling habit
3. The Challenge
The laptop in question was showing signs of failure:
- Slow performance and frequent crashes
- Overheating issues
- Outdated operating system (Windows 8.1)
- Extremely slow HDD performance
- Battery degradation
4. The Solution
4.1 Hardware Revival
A bit of TLC goes a long way! Upgraded RAM (6GB → 8GB), swapped the HDD for an SSD, replaced thermal paste, cleaned out all the dust, and made it stationary (plugged in all the time to avoid battery issues). The hardware can now handle tasks from basic writing to development and package compilation like a champ.
4.2 Choosing the Operating System
After comparing Arch (too unstable for offline use), Debian (too old packages), and Debian forks (same issues), Void Linux won the race. It’s lightweight, stable enough, and doesn’t need constant updates - perfect for an offline writing machine.
Why Void?
- Minimal by default (perfect for old hardware - boots in ~15 seconds, uses only 200MB RAM at idle)
- Rolling release with stability (best of both worlds)
- No systemd (runit is simpler and lighter)
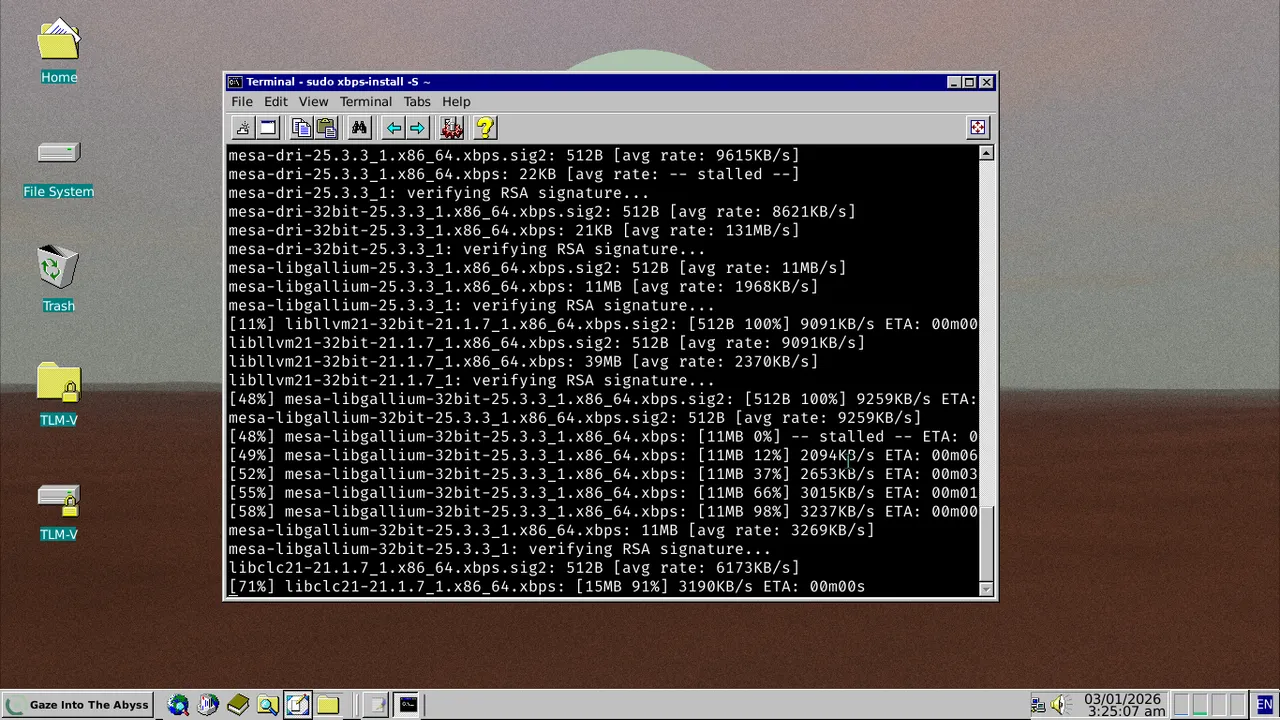
- Fast package manager (xbps is incredibly fast and efficient - no dependency hell, clean transactions, and lightning-quick searches that make package management actually enjoyable)
- Great documentation despite smaller community
4.3 Package Management: XBPS + Nix
XBPS handles system packages beautifully, but I also added Nix for experimental packages and development tools. They coexist peacefully - xbps for the foundation, Nix for the extras. No conflicts, all the packages.
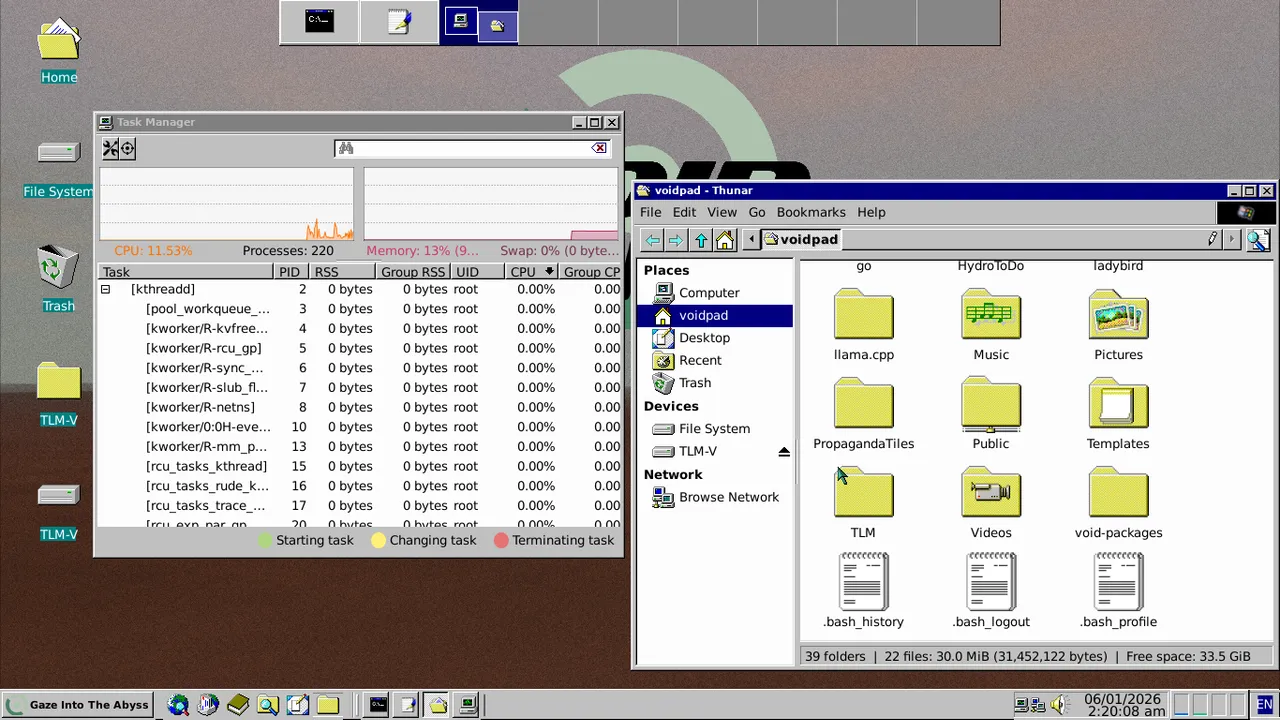
5. Desktop Environment: XFCE
XFCE is lightweight, familiar, and perfect for old hardware. I went full retro with the Chicago95 theme - Windows 95 vibes for maximum nostalgia.
6. Writing Environment
6.1 Choosing the Writing Application
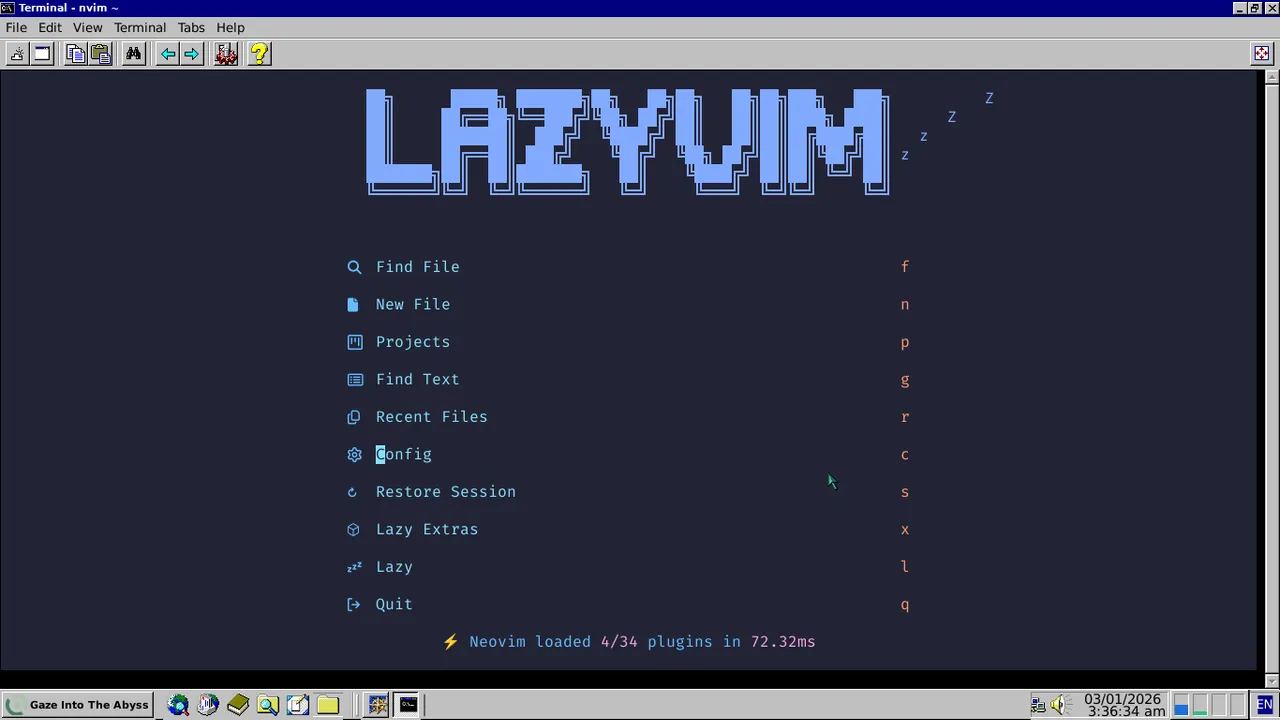
Tested five options: Obsidian, LazyVim, Emacs, neovim-obsidian, and Ekphos. Each had strengths, but Obsidian won because:
- Excellent Arabic support (crucial for bilingual writing)
- Vim keybindings built-in (works well with bilingual writing, though RTL support may require some configuration)
- Rich plugin ecosystem (unbeatable, and I also developed my own plugins)
- Works great on old hardware
- Uses Markdown format that’s accessible via many software and most compatible with my workflow
- Easy encryption with gocryptfs
- Dataview plugin enables powerful query-based note discovery and database-like functionality
- Query-based note discovery helps surface forgotten insights and patterns
- Treats your vault as a database with dynamic queries and filtering
- Custom templates and automation reduce friction in the writing process
- Transforms scattered notes into structured, queryable knowledge
6.1.1 Security with gocryptfs
Since this is a journaling machine handling personal thoughts and sensitive information, encryption is non-negotiable. gocryptfs provides transparent file-level encryption that works seamlessly with Obsidian.
What is gocryptfs?
- A FUSE-based encrypted overlay filesystem
- Creates an encrypted directory that appears as normal files when mounted
- Uses AES-256-GCM encryption with scrypt key derivation
- Filename encryption prevents metadata leakage
Why gocryptfs over alternatives?
- Performance: Faster than EncFS, especially for small files (perfect for Markdown notes)
- Security: Modern cryptography, regular security audits, no known vulnerabilities
- Transparency: Works with any application - Obsidian doesn’t even know files are encrypted
- Portability: Encrypted vault can be moved between systems easily
- Simplicity: Mount/unmount workflow is straightforward
When to use it:
- Storing personal journals, thoughts, or sensitive notes
- Working on shared computers or systems you don’t fully control
- Backing up notes to cloud storage (encrypted files are safe even if compromised)
- Any scenario where file-level encryption is needed without application changes
How I use it with Obsidian:
-
Setup (one-time):
# Install gocryptfs sudo xbps-install -S gocryptfs # Create encrypted directory mkdir ~/encrypted-vault gocryptfs -init ~/encrypted-vault -
Daily workflow:
# Mount the encrypted vault
mkdir ~/journal
gocryptfs ~/encrypted-vault ~/journal

# Open Obsidian pointing to ~/journal
# Write, edit, organize - everything is automatically encrypted

# Unmount when done (files become inaccessible)
fusermount -u ~/journal
3. Integration benefits:
- Obsidian sees normal Markdown files in
~/journal - All changes are automatically encrypted in
~/encrypted-vault - No performance impact during writing
- Vault remains encrypted when unmounted - even if laptop is stolen
The beauty is in the transparency - I write naturally in Obsidian while everything gets encrypted behind the scenes. Perfect for a privacy-focused journaling setup.
Why not Full Disk Encryption (FDE)?
While FDE might seem like the obvious choice for a privacy-focused machine, I opted for file-level encryption instead for several practical reasons:
- Startup Performance: FDE adds noticeable boot time on older hardware - every second counts when you want to quickly jot down thoughts
- Void Linux Complexity: Setting up LUKS properly on Void requires more manual configuration compared to mainstream distros
- Overkill for Use Case: The Voidpad is a dedicated writing machine, not storing system secrets or handling multi-user scenarios
- Selective Protection: Only my journal needs encryption - system files, applications, and temporary data don’t contain sensitive information
- Recovery Simplicity: If something breaks, I can still access the system to troubleshoot without decryption steps
File-level encryption with gocryptfs gives me exactly what I need: transparent protection for my writing while keeping the system lightweight and maintainable.
6.2 Local AI Integration
Added a local 3B parameter language model for offline writing assistance using Ollama. Here’s how to set it up with Obsidian:
-
Install Ollama:
# Download and install Ollama curl -fsSL https://ollama.ai/install.sh | sh # Pull a lightweight model (3B parameters) ollama pull phi3:mini -
Install Obsidian AI plugin: Open Obsidian Settings → Community Plugins, search for “Text Generator” or “Copilot” plugin, then install and enable the plugin.
-
Configure the plugin: Set API endpoint to
http://localhost:11434, select modelphi3:mini, and configure hotkeys for quick AI assistance. -
Usage: Select text and press your hotkey for AI suggestions, use prompts like “improve this paragraph” or “translate to Spanish” - everything runs locally with no internet required after setup.
The model runs efficiently on CPU, uses about 2GB RAM, and provides instant writing assistance without any privacy concerns. Perfect for brainstorming, editing, and translation tasks while keeping everything offline.
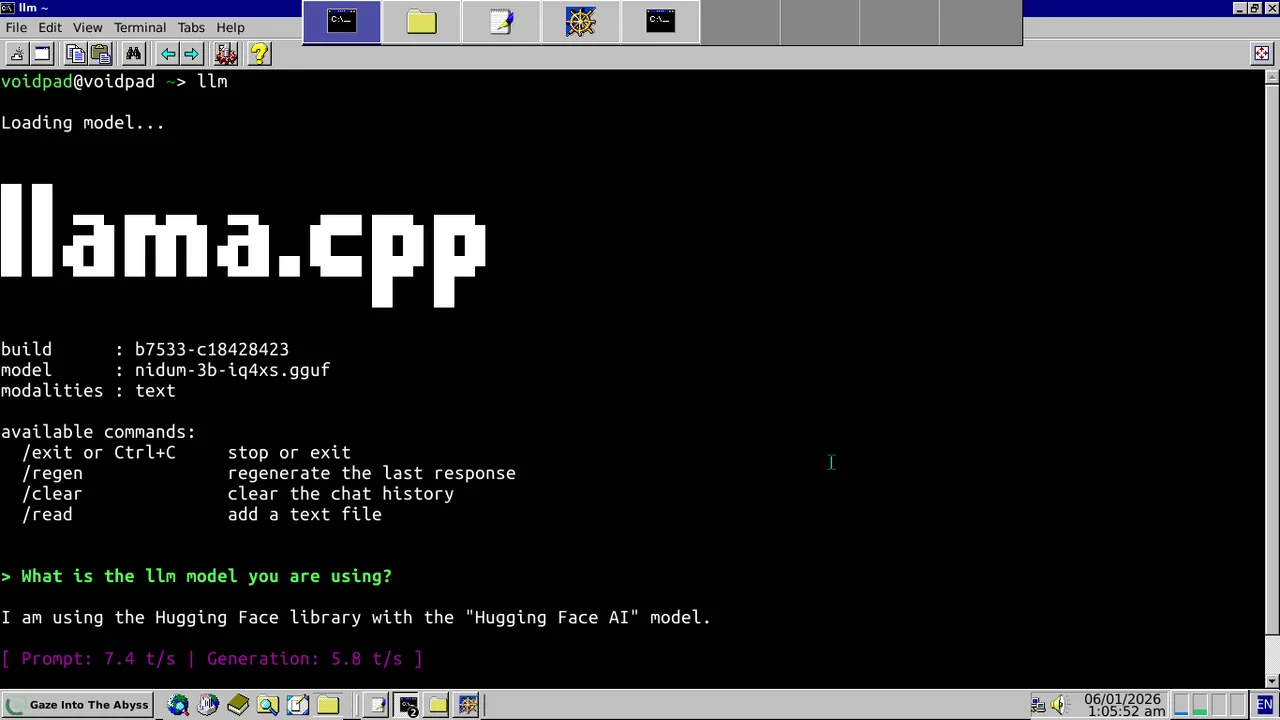
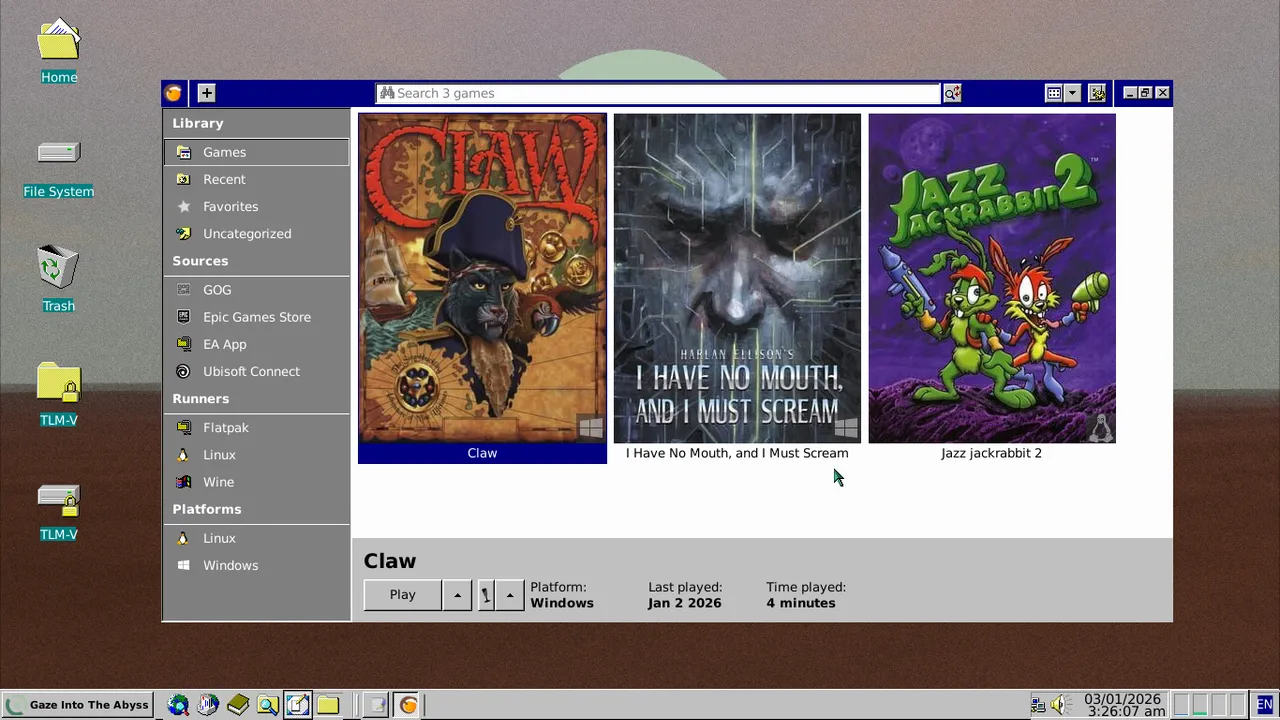
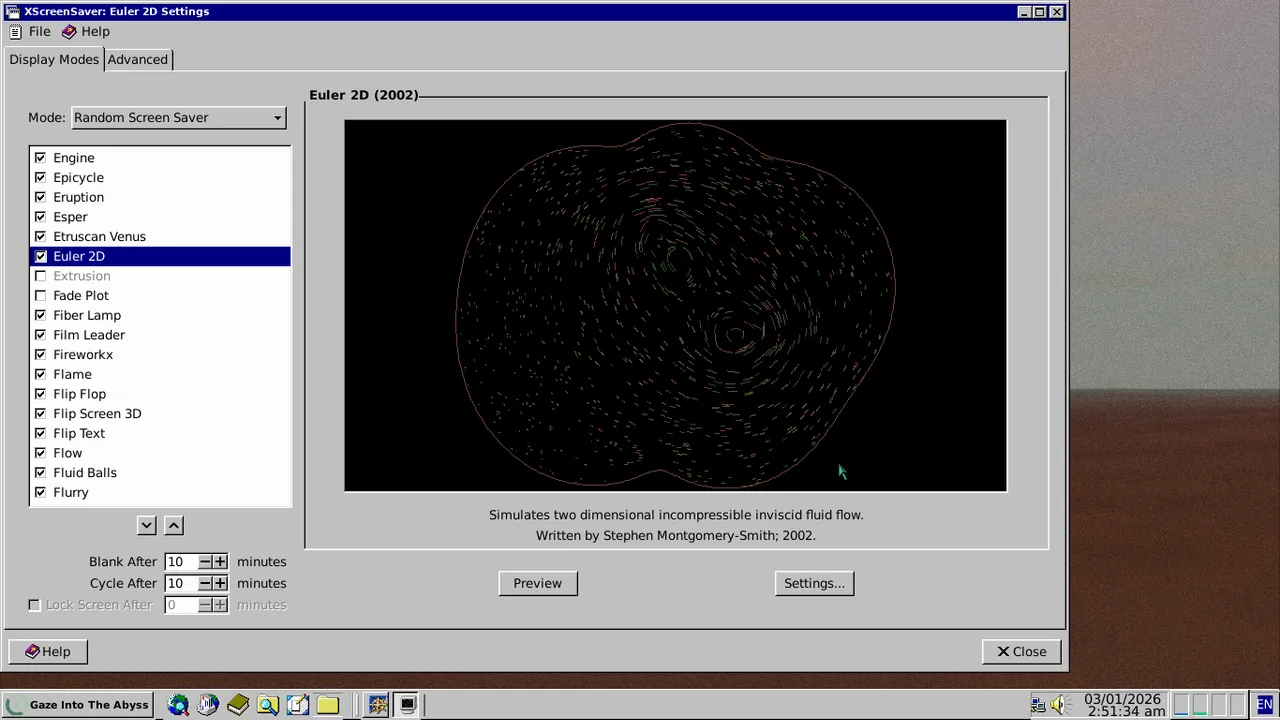
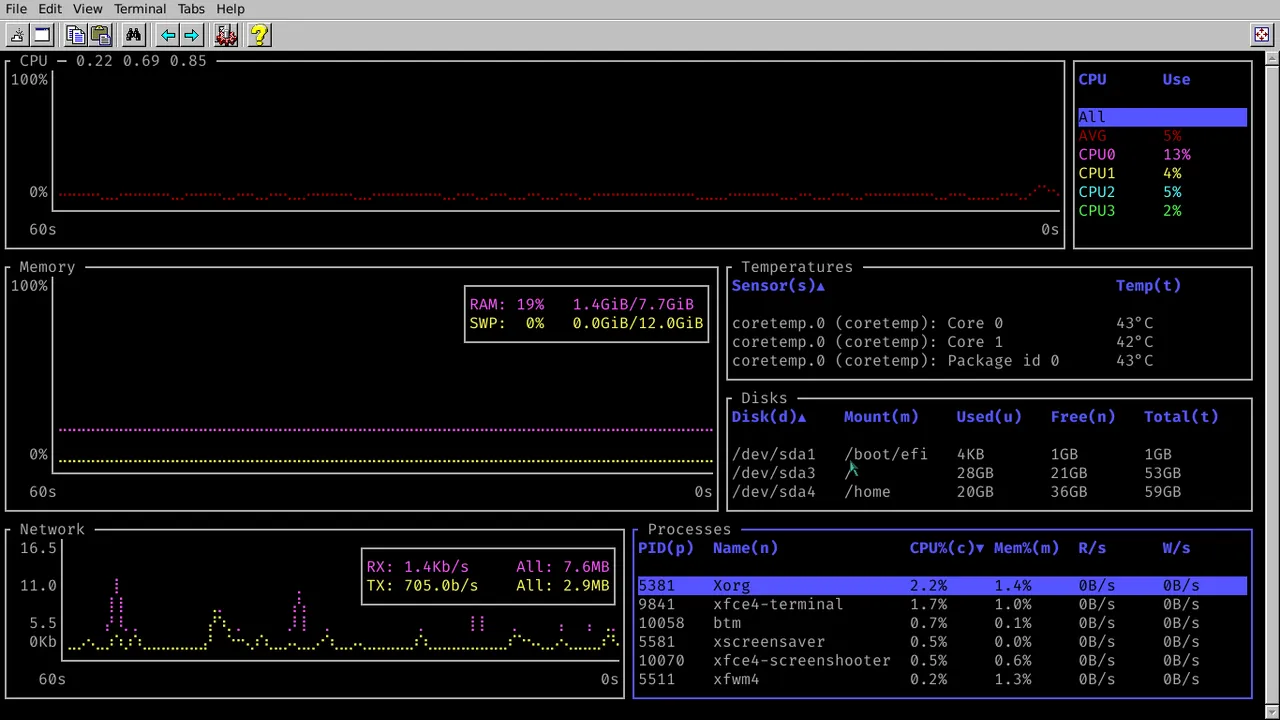
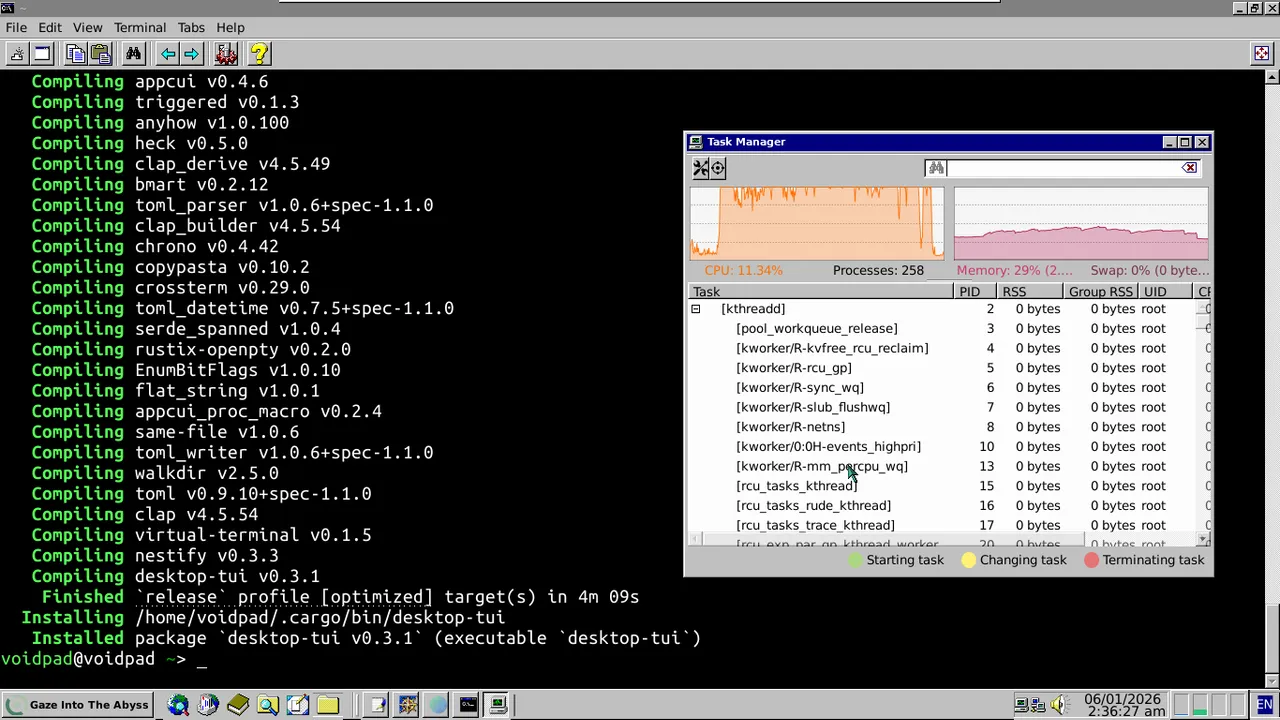
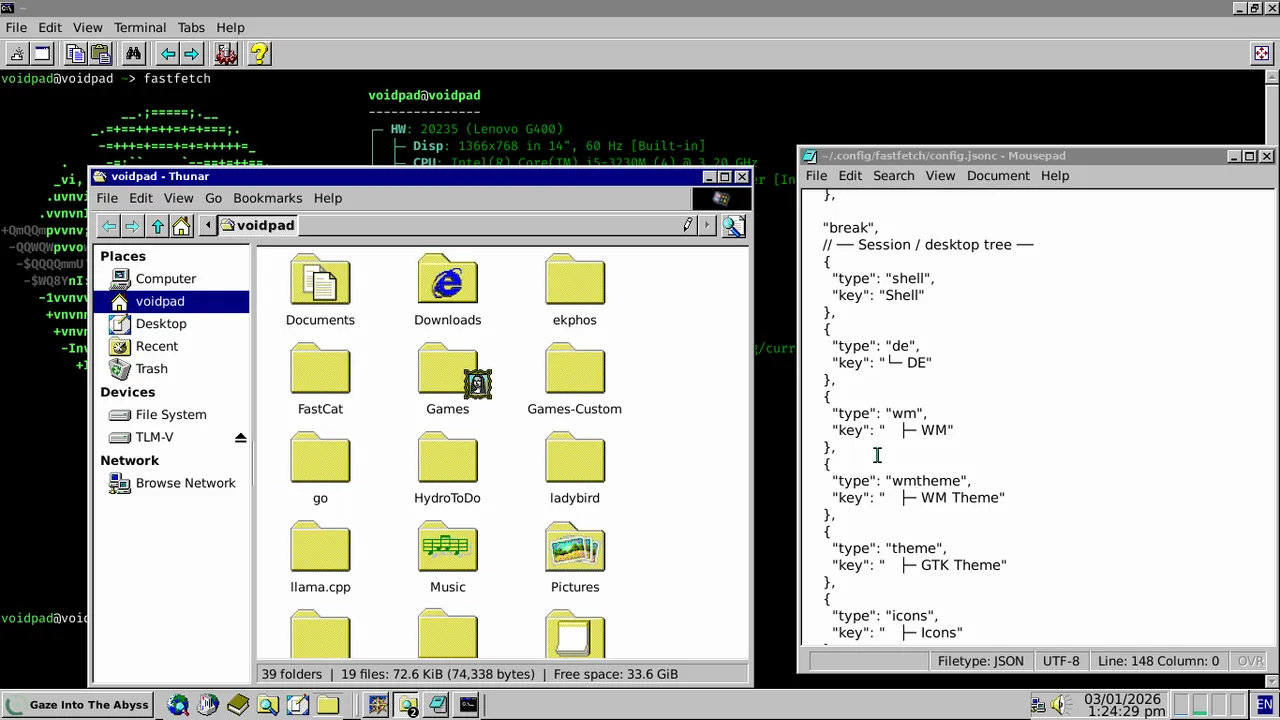
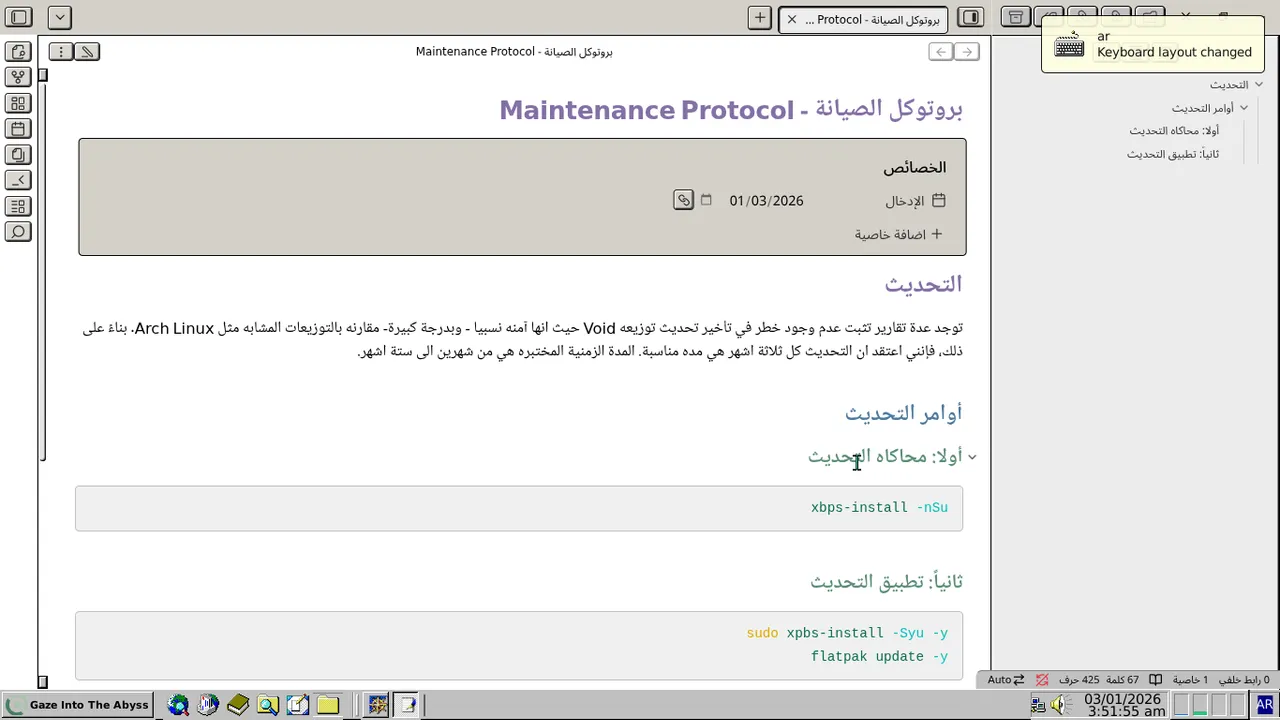
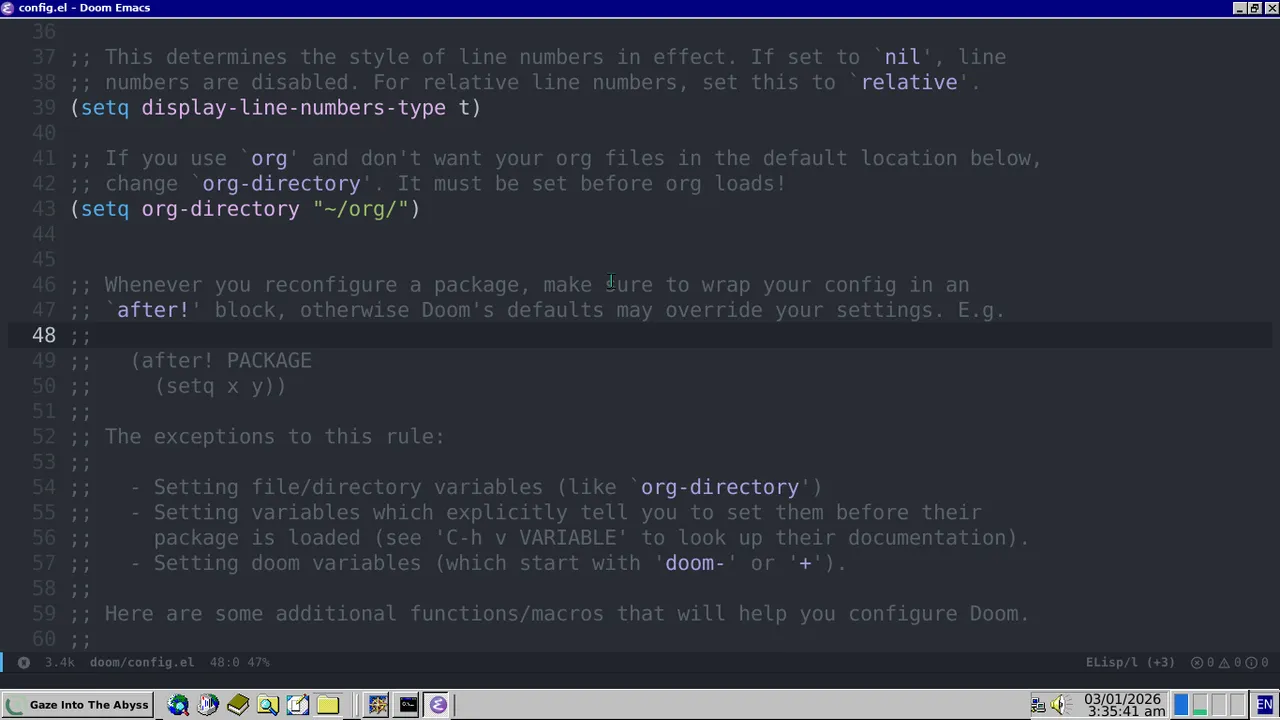
7. Gallery
A peek into the Voidpad’s daily life: